 ( 239 ) Date
Here I am using the milling machine to work on the bone saddles. I am routing a slot in the side of the saddle blank so they will fit in the T-slots of the saddle plate. This saddle blank will be sliced into individual saddles that will be able to slide forward and backward allowing the intonation to be adjusted for each string individually.
 ( 240 ) Date
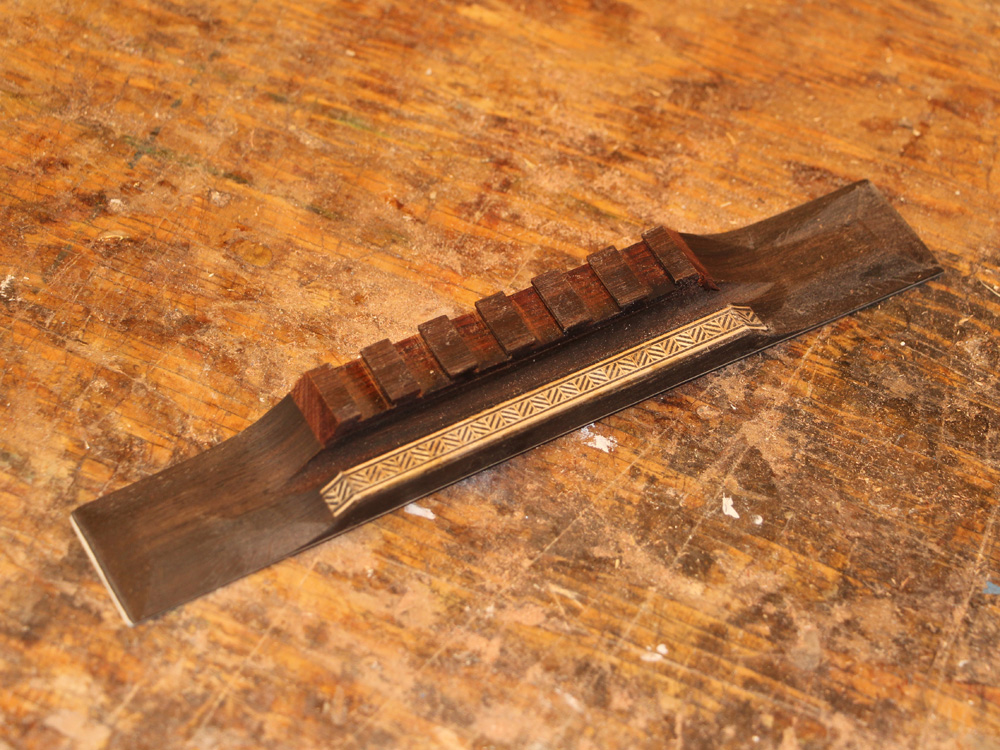
And here I have the pieces for the bridge ready for assembly.
 ( 241 ) Date
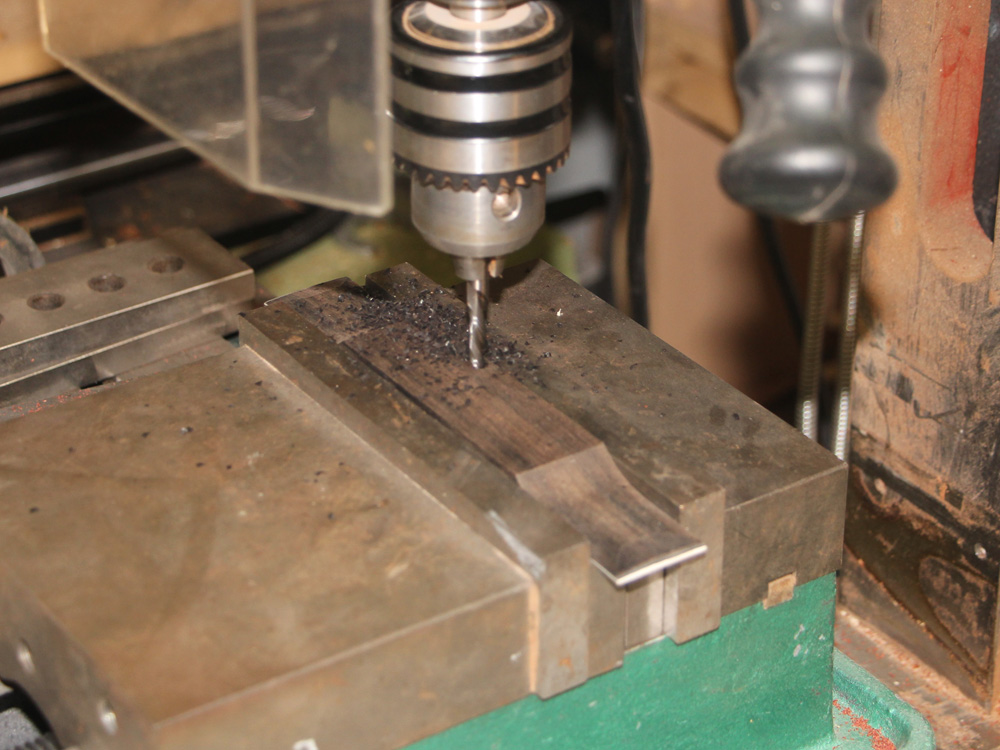
The bridge blank gets several slots routed out.
 ( 242 ) Date
And here is the finished saddle.
 ( 243 ) Date
Now onto the finish. Before applying the nitrocellulose lacquer I fill the pores in the wood with epoxy. I apply a layer of epoxy pushing the goop into the pores, and then after it has cured I sand off everything leaving the pores filled... it usually takes two or three iterations to get it right.
 ( 244 ) Date
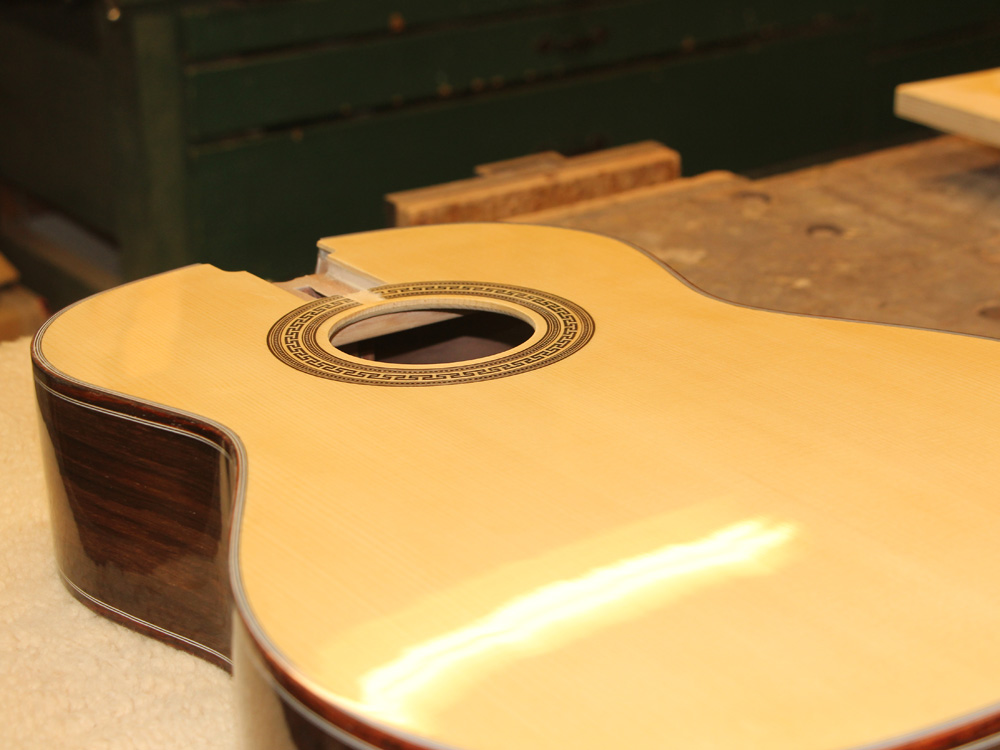
Now for a confession: While applying the lacquer to the top of the guitar I noticed the top plate had split along the seam. This was likely from a humidity change. I tried to apply a patch to the seam, but I was never able to get it just right, soooo... I tore the top off, built a new top, reattached it to the sides and installed new binding on the top edge... agh! Nonetheless, it was the right thing to do and it all turned out well.
After setting up the spray tent I apply the lacquer with a spray gun.
 ( 245 ) Date
I slowly build up the layers of lacquer, leveling the surface every few coats.
 ( 246 ) Date
I use a variety of tools to sand the finish down level. Although I do use power tools for the heavy lifting, nothing turns out as well as hand rubbing the finish.
 ( 247 ) Date
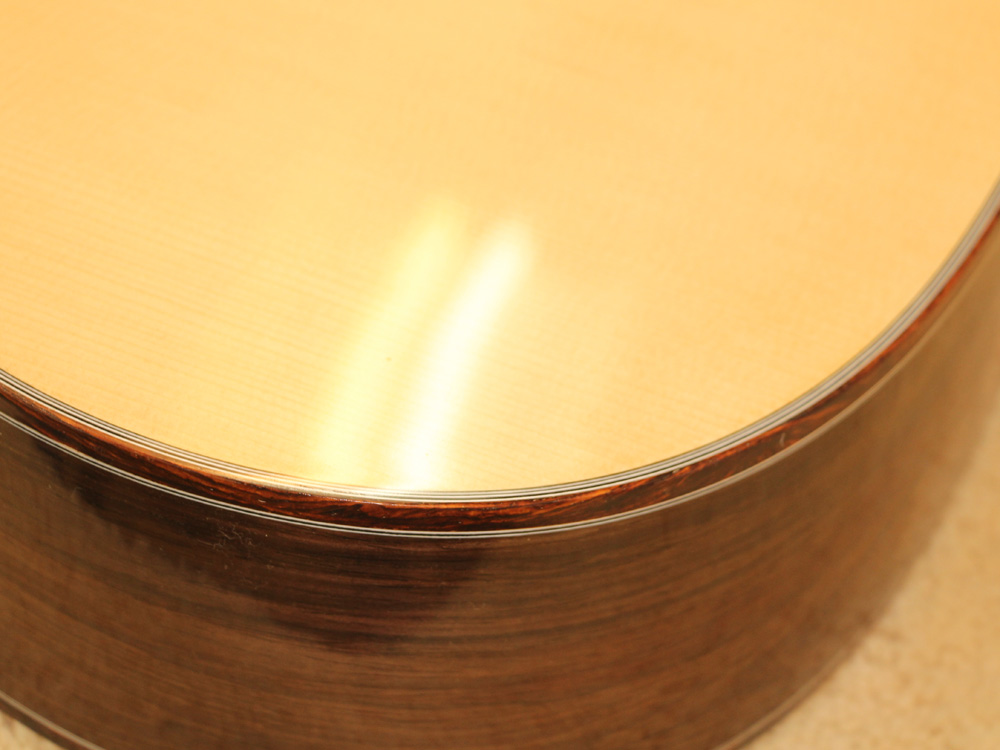
After polishing the finish to 2400 grit I use the buffing machine to put on the final polish.
 ( 248 ) Date
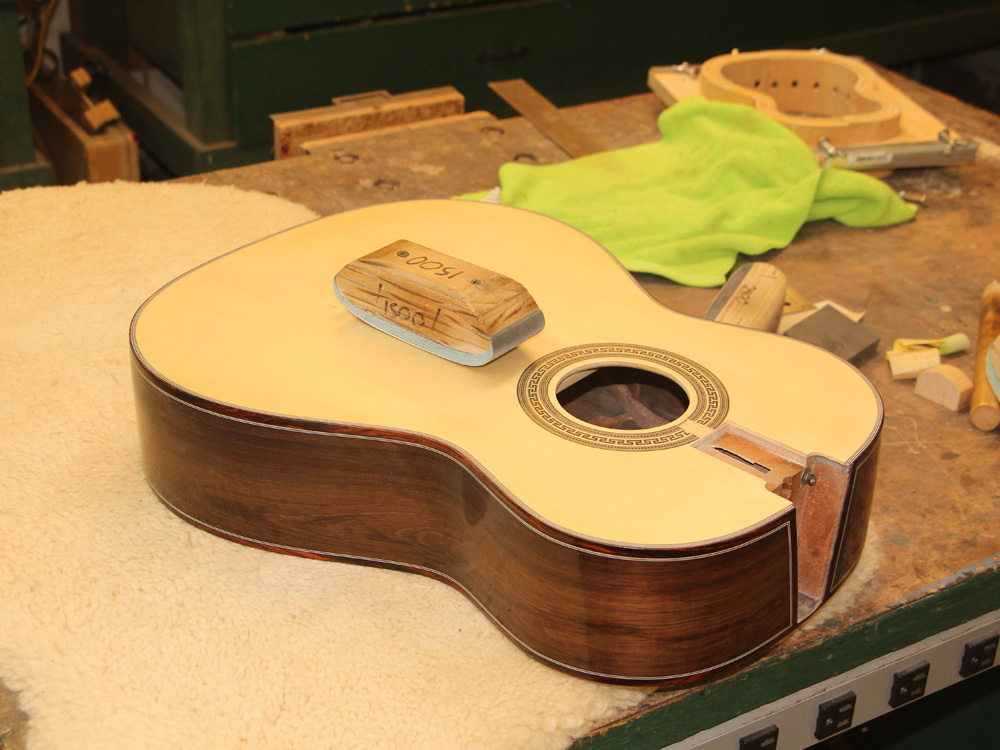
There are lots of details in the finish that you can't see until the polish is on. I usually have to go back and forth several times between the final polish and the rougher grits until I am satisfied.
 ( 249 ) Date
In the end the guitar is all shinny.
 ( 250 ) Date
Next on deck is attaching the bridge and stringing it up.